Hexo 入门
首先,这是我初步尝试使用hexo建立个人博客,并使用github进行部署。关于hexo搭建的教程很多,在bilibili上也有不少教程。
Hexo 搭建
准备工作
- 下载安装 node.js
- Hexo 基于 Node.js,需先安装运行环境。
- 安装时勾选 npm package manager。
- 验证安装
1
2
node -v # 显示版本号(如 v18.16.0)
npm -v # 显示版本号(如 9.5.1)
- 下载安装 git
- 安装hexo(安装 Hexo 的核心命令行工具,
-g表示全局安装) - 创建并初始化一个
blog的文件夹1
2
3
4
5
6blog/
├── _config.yml # 全局配置文件
├── package.json # 依赖管理
├── scaffolds/ # 模板文件夹
├── source/ # 文章和资源
└── themes/ # 主题文件夹 - 进入文件夹
- 安装本地依赖
根据package.json安装Hexo运行所需依赖。 - 启动本地服务器
s为server的简写。- 默认是
http://localhost:4000。 -p 5000:指定端口(如hexo s -p 5000)。-l:监听所有网络地址(允许同一局域网设备访问)。
More info: Deployment
主题配置
我使用的主题是Icarus,所以就以这一主题为例进行介绍:
主题安装与设置
我使用NPM将Icarus安装为Node.js模块,这样做的好处是方便,但会损失一定的可定制性。1
npm install -S hexo-theme-icarus hexo-renderer-inferno
之后在站店(blog文件夹)中的_config.yml文件中更改主题:1
theme: icarus
或者在命令行中修改:1
hexo config theme icarus
本地服务器测试:1
hexo s
主题修改
首先是修改_config.yml:1
2
3title: JH's Blog
author: LLLLAAAA
url: https://LLLLAAAA2333.github.io
其次修改_config.icarus.yml中的内容:
修改logo和icon:1
2
3
4
5# Path or URL to the website's logo
logo: /img/logo.svg
head:
# URL or path to the website's icon
favicon: /img/favicon.svg
修改导航页:1
2
3
4
5
6
7
8
9# Page top navigation bar configurations
navbar:
# Navigation menu items
menu:
Home: /
Archives: /archives
Categories: /categories
Tags: /tags
About: /about
配置comment:
这里我使用的是utterances,
A lightweight comments widget built on GitHub issues. Use GitHub issues for blog comments, wiki pages and more!
- 准备一个public Repository,这里我建立了一个名为comments的仓库
- Install utterances,访问Github Apps - utterances
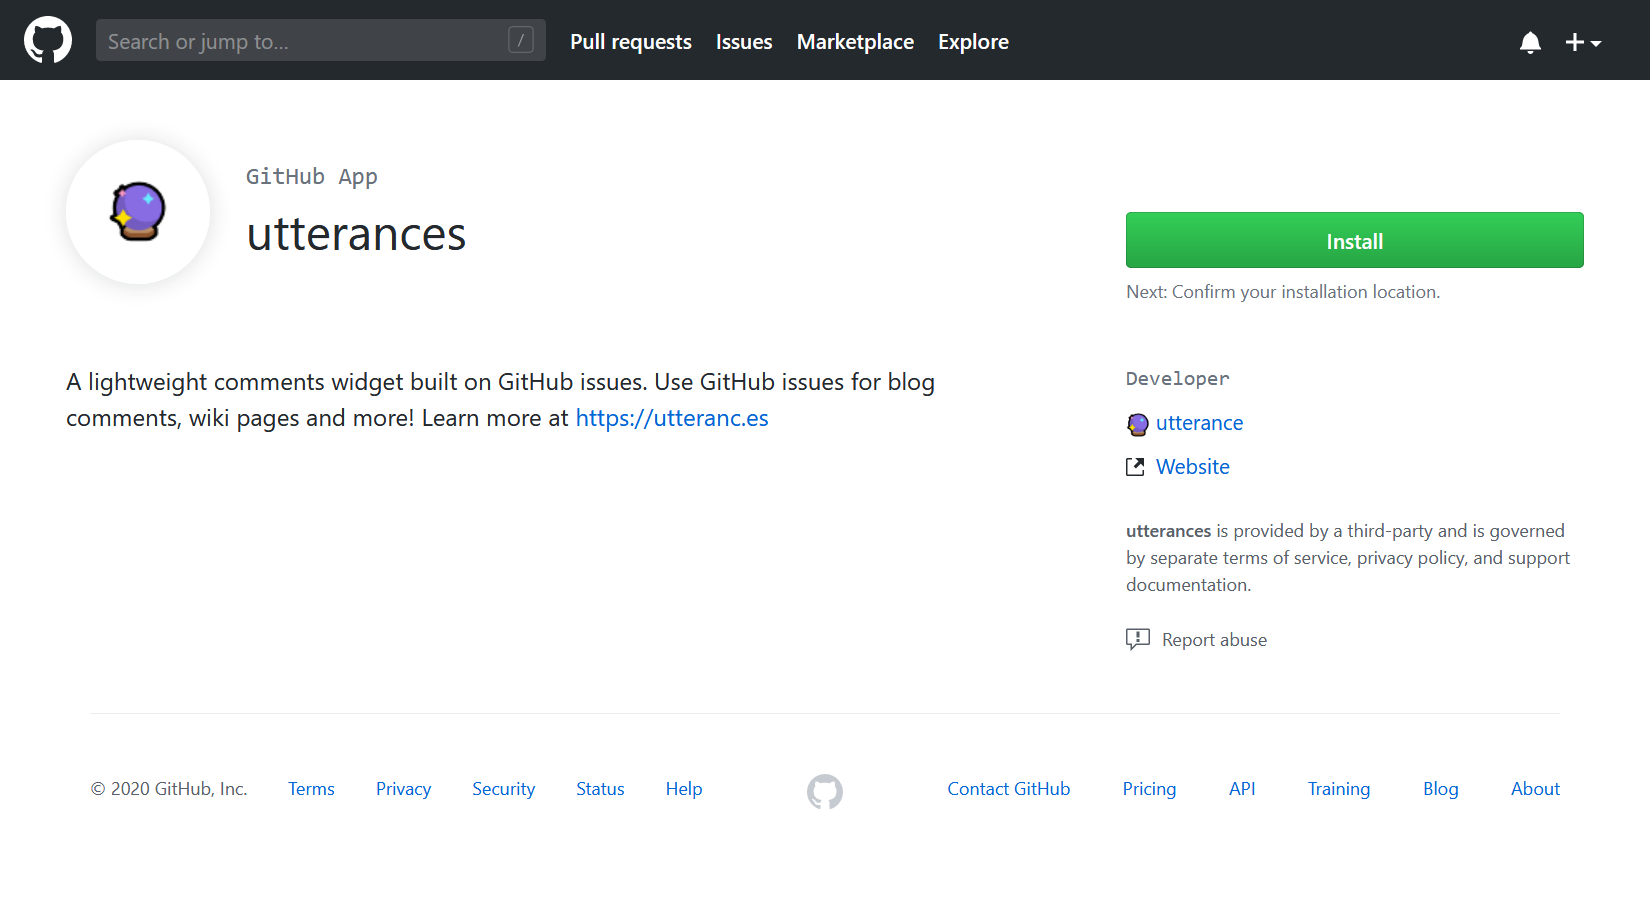
- 选择需要安装utterances的用户以及选择特定的仓库,
- 若安装成功,网页将跳转到utterances官网。 你可以阅读每个的配置项的说明,并按照配置你的utterances安装。
- 完成配置后,转到页面上的”开启utterances“(Enable Utterances)并从utterances的HTML代码中复制属性值到主题配置的对应配置项中。
例如如下HTML:对应到1
2
3
4
5
6
7<script src="https://utteranc.es/client.js"
repo="Your-GitHub-Username/Your-Public-Repo-Name"
issue-term="pathname"
theme="github-light"
crossorigin="anonymous"
async>
</script>_config.icarus.yml中即为:
此处label需要确保Issue中有该label1
2
3
4
5
6comment:
type: utterances
repo: LLLLAAAA2333/comments
issue_term: pathname
label: comments
theme: github-light
发布到GitHub Pages
- 安装
hexo-deployer-git,命令如下:1
npm install hexo-deployer-git --save
- 在
GitHub上创建一个新的仓库用于保存网页。
填写仓库名,格式必须为<用户名>.github.io,然后点击Create repository。 - 修改
_config.yml中的内容:1
2
3
4deploy:
type: git # 不要使用github
repo: git@github.com:your-name/your-name.github.io.git
branch: main - 生成静态文件并推送到GitHub:此时,打开浏览器,访问 http://your-name.github.io ,恭喜你,到此为止你的博客已经建设完毕了。
1
2
hexo g
hexo d
添加RSS链接
首先添加插件hexo-generator-feed1
2
3
4
5#订阅RSS
feed:
type: atom
path: atom.xml
limit: false
配置含义:
1 | type: RSS的类型(atom/rss2) |
之后再应用主题的_config.yml中添加1
rss: /atom.xml
我同时更改了博客提供的rss链接:1
2
3RSS:
icon: fas fa-rss
url: https://llllaaaa2333.github.io/atom.xml
配置好后运行hexo g即可在public文件夹下就可以看到atom.xml这个文件了。
https://llllaaaa2333.github.io/atom.xml 即可用于进行RSS订阅,比如应用到Follow中: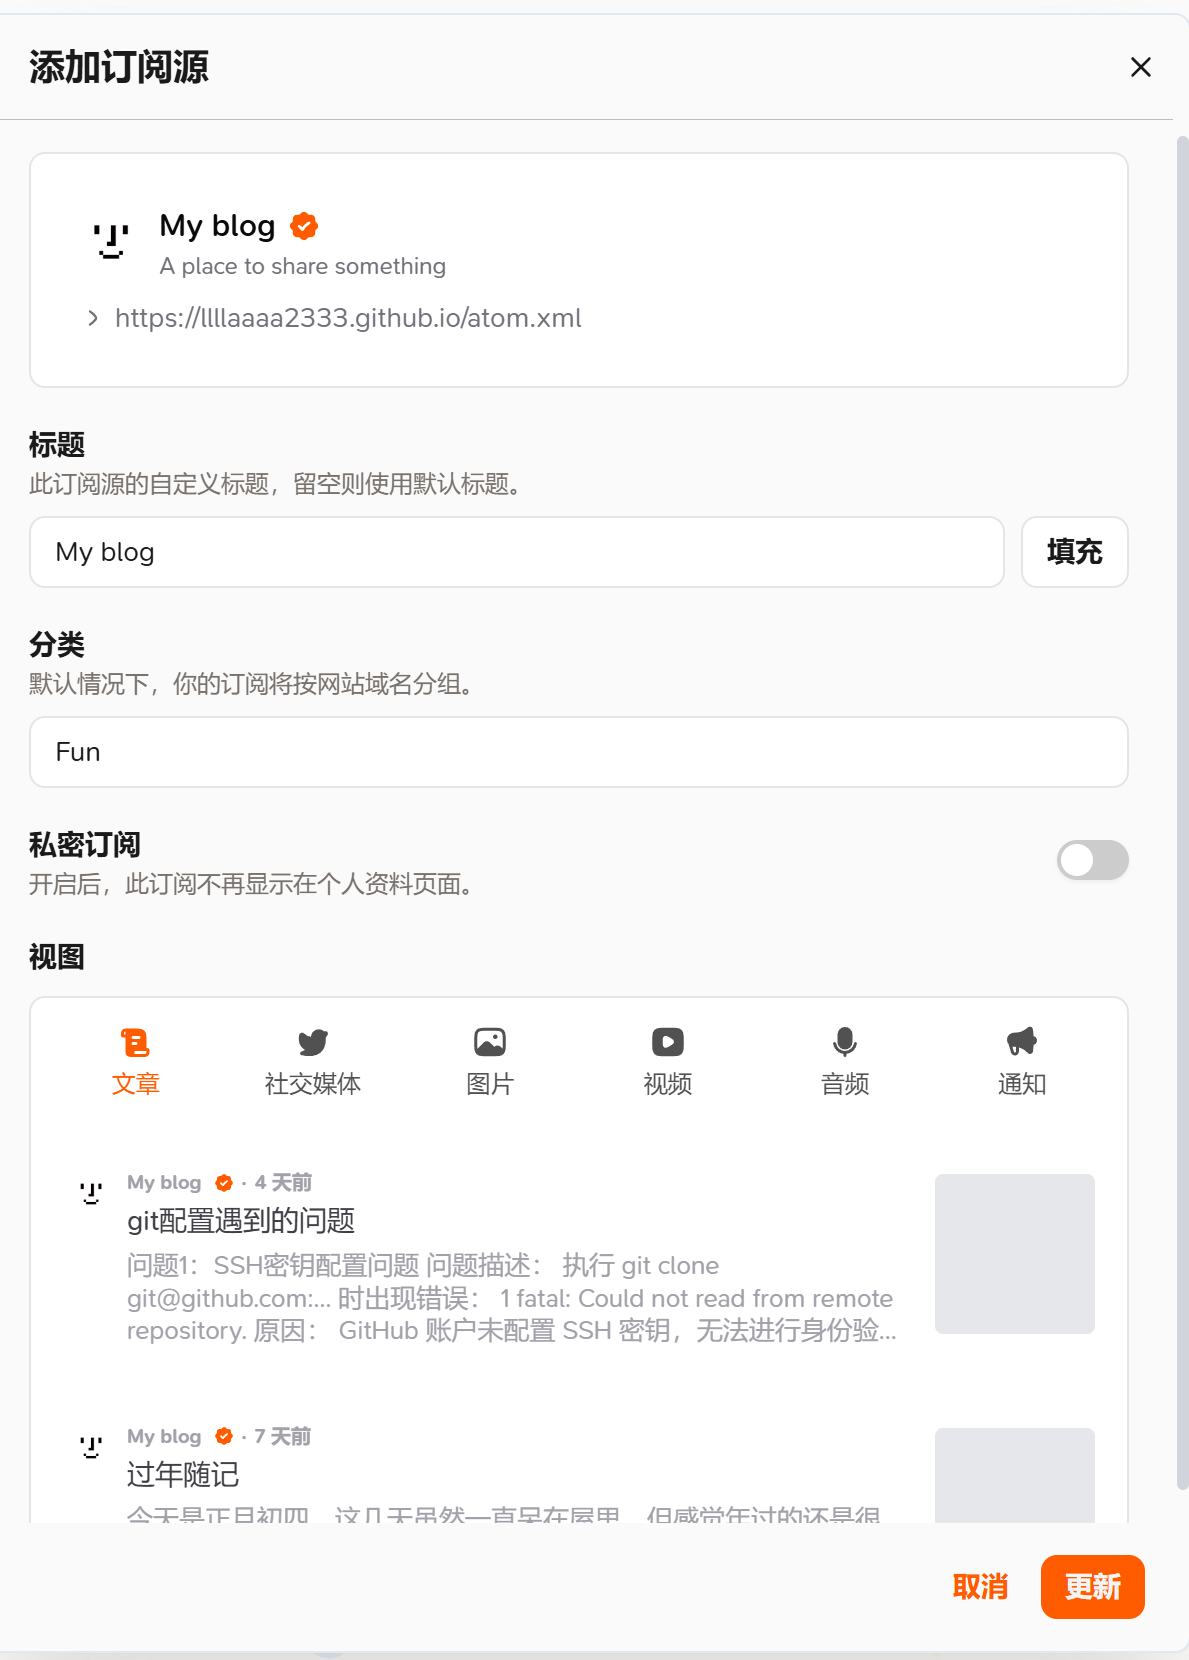
可以后续使用Follow认证: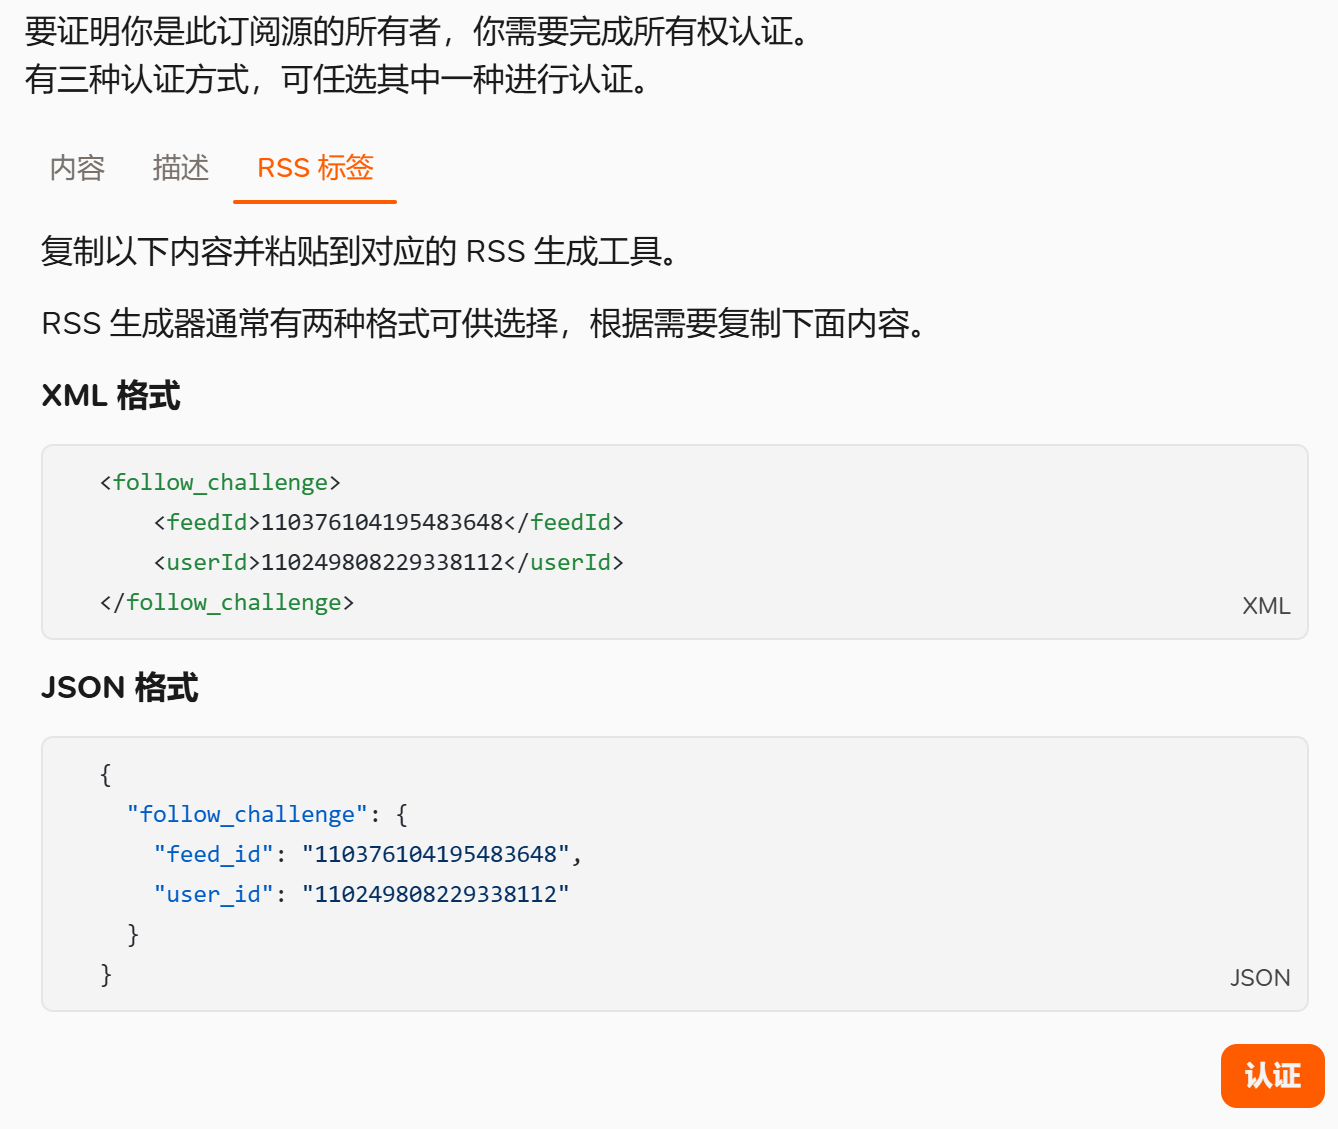
这里选择RSS标签,复制XML 格式的内容,之后在文件:node_modules\hexo-generator-feed\atom.xml中将其粘贴到适当位置: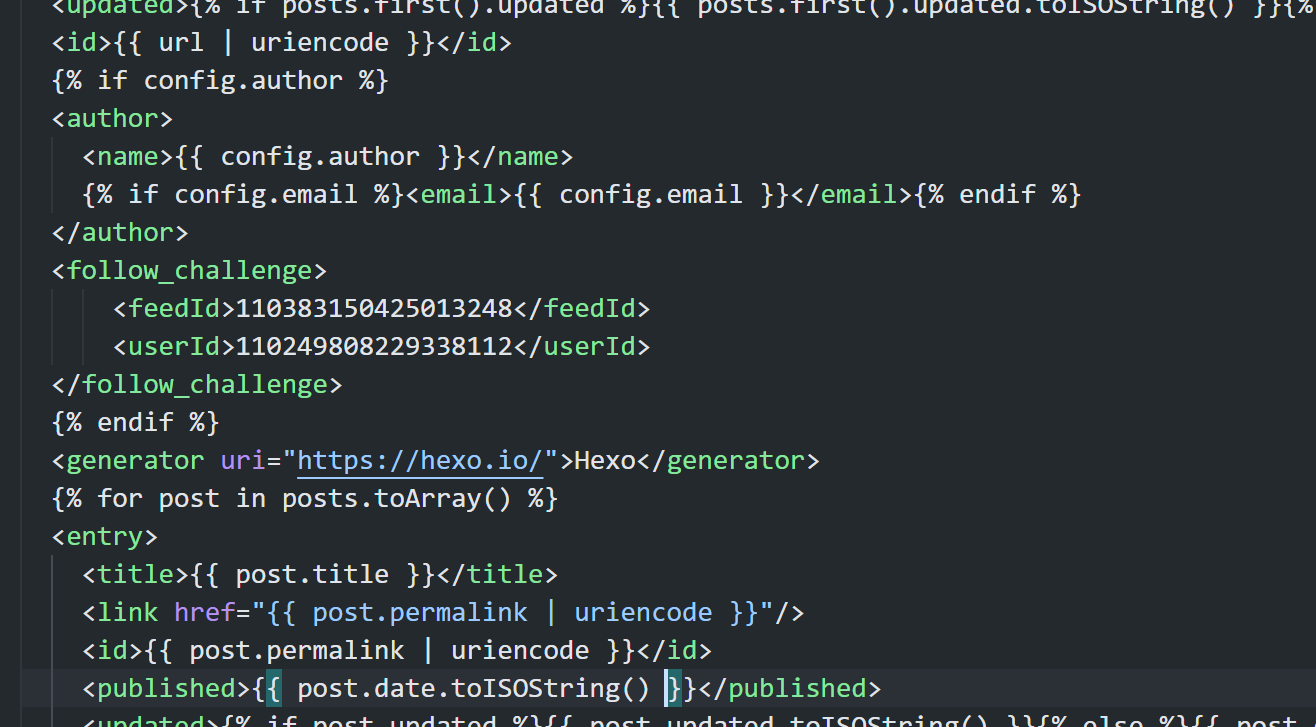
之后重新部署即可认证。